一、入门
昨天下午刚开始学习小程序,各种注册申请流程,繁琐得很,好在花了一定时间完成了,然后就进入了开发。其实认识得很浅,慢慢学习吧,一步一步来。
参考资料贴一下:
官方指导文档
结构相关
WXSS语法
weui-wxss 源文件和各种example的git地址,可以clone下来看。
https://github.com/Tencent/weui-wxss.git
二、轮播图实现
主要是参考官方文档和查网上资料,看下怎么使用组件,废话不多说,看操作。
1、在app.json文件中,加一个页面,开发工具会自动生成对应的空文件
pages/swiper/swiper
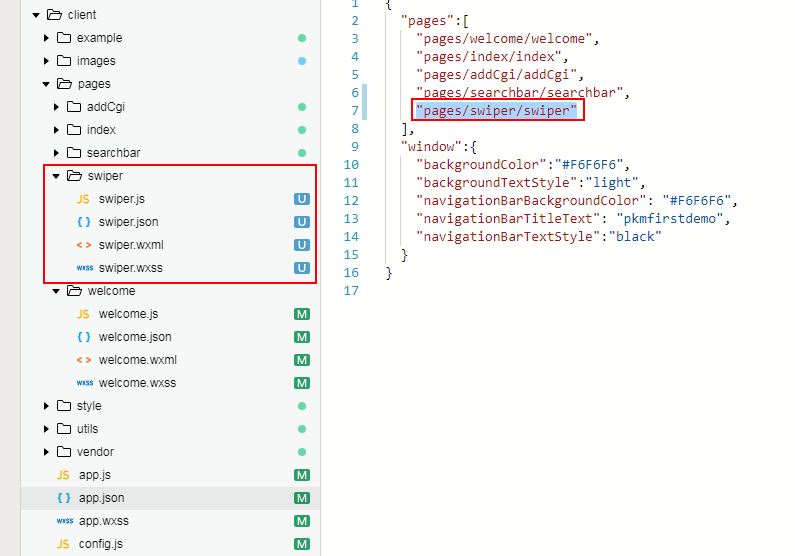
2、在swiper.json中,可以配置一下页面的标题
{
"navigationBarTitleText": "轮播图"
}
3、找3张差不多大小的图片,放在与pages目录同级的目录images中,在swiper.js中的 data节点下,加入三张图片的地址
imgUrls: [
'/images/wximg01.jpg',
'/images/wximg02.jpg',
'/images/wximg03.jpg'
]
4、在swiper.wxml页面文件中,加入轮播组件代码
<view>
<swiper indicator-dots="true" autoplay="true" interval="1800">
<block wx:for="{{imgUrls}}">
<swiper-item>
<image src="{{item}}"></image>
</swiper-item>
</block>
</swiper>
</view>
5、在swiper.wxss样式文件中,稍微处理一下显示样式
swiper,swiper image {
width: 100%;
height: 500rpx;
}
6、在欢迎页面按钮修改导航url到轮播页面
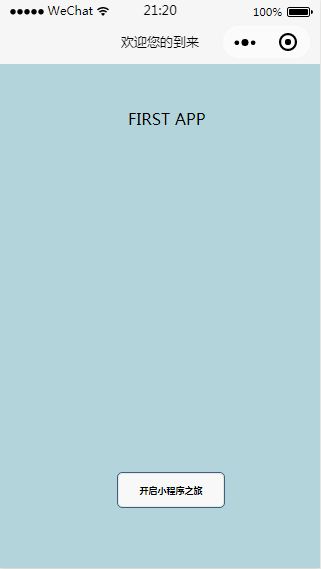
<navigator url="../swiper/swiper" open-type="navigate" class="uploader-text">
    <button class="btn" bindtap="logbtn">开启小程序之旅</button >
</navigator>
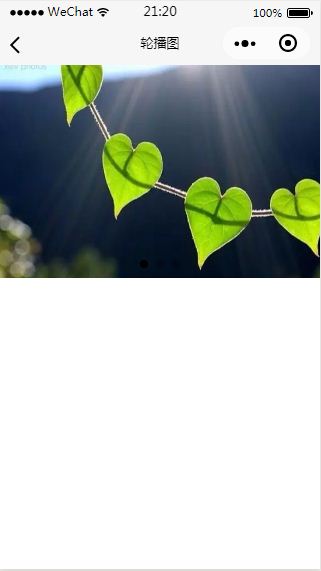
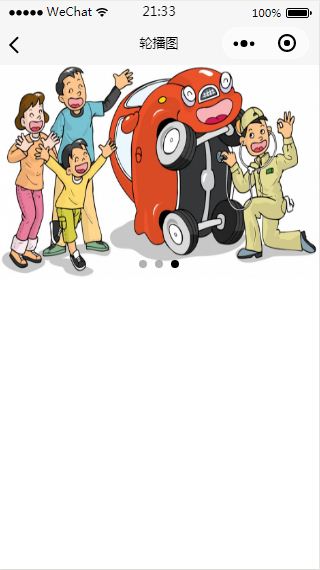
运行效果: